Building Gen 3 Starters: A Pokemon LEGO Project

Table of Contents
Designing Your Gen 3 Starters LEGO Models
Building your Gen 3 Starters LEGO models starts with the design phase. Each Pokémon presents unique challenges and opportunities for creative LEGO construction. Let's break down the design process for each starter:
Treecko – The Agile Grass-Type
Treecko's slender form requires a sleek, vertical design. Capturing its elegant shape with LEGOs involves careful consideration of brick placement and proportion.
- Focus: Sleek, vertical design emphasizing length and agility.
- Color Palette: Primarily various shades of green LEGO bricks, with darker green accents for details.
- Key Features: Long, flexible tail (consider using flexible elements or hoses); defined limbs; distinct head shape.
- Tips:
- Utilize SNOT (Studs Not On Top) techniques extensively to create smooth, curved surfaces and avoid the blocky look.
- Experiment with different brick sizes – plates, slopes, and tiles – to achieve accurate proportions. Don't be afraid to try unusual brick combinations.
- Materials: Green plates, slopes, and tiles; dark green bricks for accents; small flexible elements (like rubber hoses) for the tail; possibly some light green for highlights.
Torchic – The Fiery Fire-Type
Torchic's round, compact body presents a different design challenge. The focus here is on creating a three-dimensional, chubby form.
- Focus: Round, compact design to capture Torchic's adorable appearance.
- Color Palette: Predominantly red and orange LEGO bricks, possibly with yellow accents for the beak.
- Key Features: Round body, short legs, small beak, pointed ears.
- Tips:
- Build the body in layers to add depth and achieve a more realistic, three-dimensional form.
- Use translucent orange bricks to simulate a glowing effect, enhancing the "fiery" aspect of the Pokémon.
- Materials: Red and orange bricks, plates, and cones; small yellow bricks for the beak; black bricks for the eyes; potentially translucent orange bricks.
Mudkip – The Playful Water-Type
Mudkip's playful nature is reflected in its short, stout body. The design needs to capture its roundness and aquatic features.
- Focus: Short, stout body with distinct features, emphasizing its playful nature.
- Color Palette: Primarily blue LEGO bricks in varying shades, with lighter blue for the underbelly.
- Key Features: Rounded head, stubby arms, prominent fins.
- Tips:
- Utilize curved slopes to create a smooth, fluid look, mimicking the fluidity of water.
- Experiment with brick combinations to create the fins, aiming for a balanced and aesthetically pleasing design.
- Materials: Blue bricks, plates, and slopes; lighter blue for the underbelly; small, fin-like elements (possibly modified pieces or creatively assembled bricks).
Sourcing LEGO Bricks and Materials
Gathering the necessary LEGO bricks is a crucial step in your Gen 3 Starters LEGO project. Several options exist:
- Purchasing New Sets: LEGO often releases sets with colors and pieces suitable for your project. Check for sets containing the necessary greens, reds, oranges, and blues.
- Utilizing Existing Collections: Repurpose bricks from your existing LEGO collection. This encourages creativity and resourcefulness.
- Online Marketplaces and Local Stores: Websites like eBay and BrickLink, as well as local toy stores or hobby shops, offer used LEGO bricks. This is a cost-effective way to acquire specific colors and pieces.
Remember to select the right brick types and colors to accurately represent each Gen 3 starter's unique characteristics. If necessary, consider using paint or stickers to customize existing pieces and add finer details.
Advanced Techniques and Customization
Elevating your Gen 3 Starters LEGO models involves exploring advanced techniques and adding personalized touches:
-
Advanced LEGO Techniques:
- SNOT (Studs Not On Top): Use SNOT techniques to create smooth, seamless surfaces, especially for the bodies of the Pokémon.
- Brick Layering: Build in layers to achieve three-dimensional depth and detail, particularly effective for the rounded shapes of Torchic and Mudkip.
- Hinge and Articulation Techniques: Incorporate hinges and other articulation techniques to create poseable figures, adding dynamism to your creations.
-
Customization Options:
- Accessories: Add accessories such as Poké Balls, berries, or small rocks to enhance the scene.
- Diorama Creation: Build a small diorama to showcase your Gen 3 Starters in their natural habitats – a forest for Treecko, a volcanic area for Torchic, or a watery environment for Mudkip.
- Personalized Touches: Add nameplates or custom decals to personalize your creations.
Conclusion
Building your own Gen 3 Starters LEGO models offers a fantastic opportunity for creativity and self-expression. By following these design guides and sourcing the right materials, you can create accurate and visually appealing renditions of Treecko, Torchic, and Mudkip. Remember to experiment with different techniques and customizations to make your Pokémon LEGO creations truly unique. Start building your dream Gen 3 Starters LEGO collection today! Share your creations with us using #Gen3StartersLEGO!
Featured Posts
-
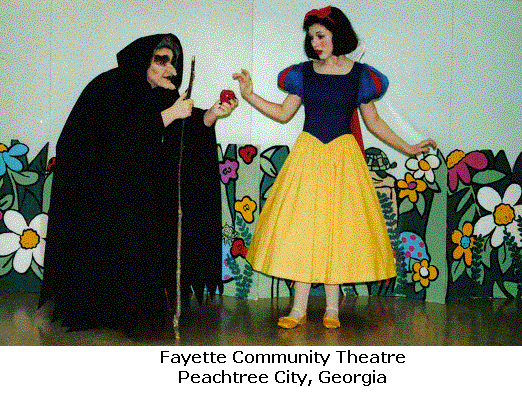 Nolte On Snow Whites Underwhelming Mothers Day Weekend Performance
May 14, 2025
Nolte On Snow Whites Underwhelming Mothers Day Weekend Performance
May 14, 2025 -
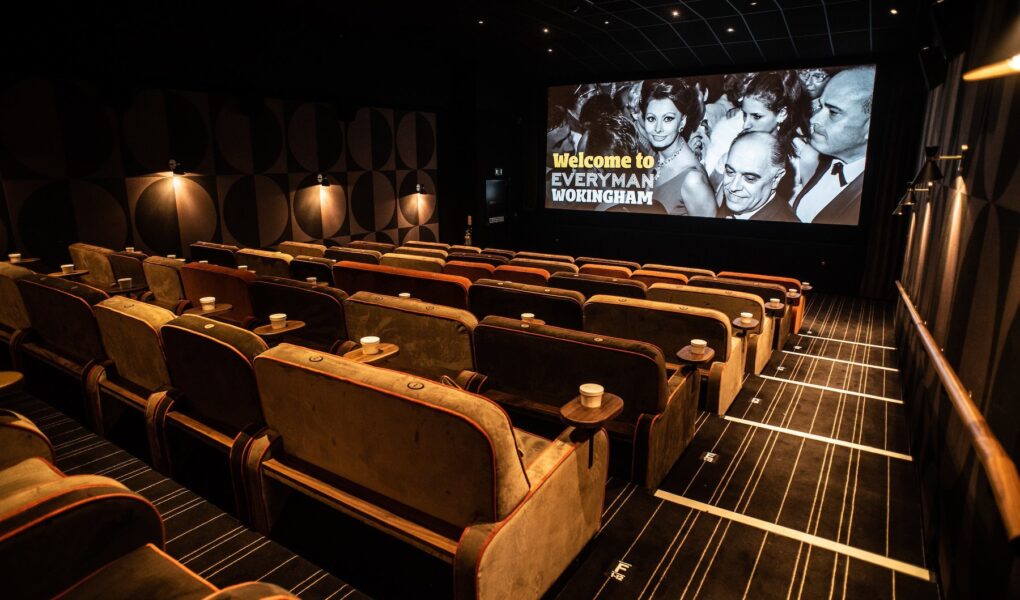 Everyman Cinema Presents John Barrys From York With Love
May 14, 2025
Everyman Cinema Presents John Barrys From York With Love
May 14, 2025 -
 Man Utd Transfers Will Amorim Repeat Solskjaers Mistake With A Top Young Talent
May 14, 2025
Man Utd Transfers Will Amorim Repeat Solskjaers Mistake With A Top Young Talent
May 14, 2025 -
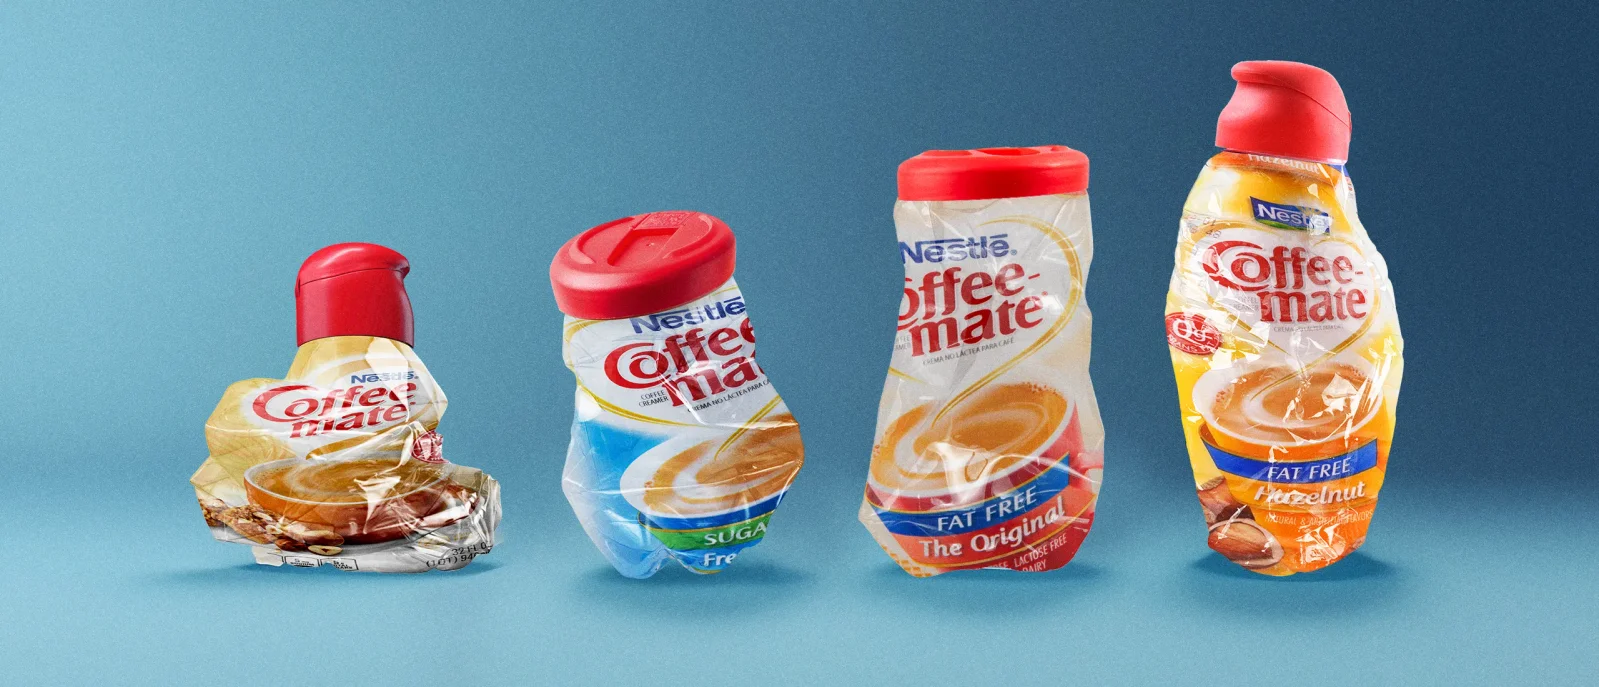 Deadly Coffee Creamer Recall Impacts Michigan Coffee Drinkers
May 14, 2025
Deadly Coffee Creamer Recall Impacts Michigan Coffee Drinkers
May 14, 2025 -
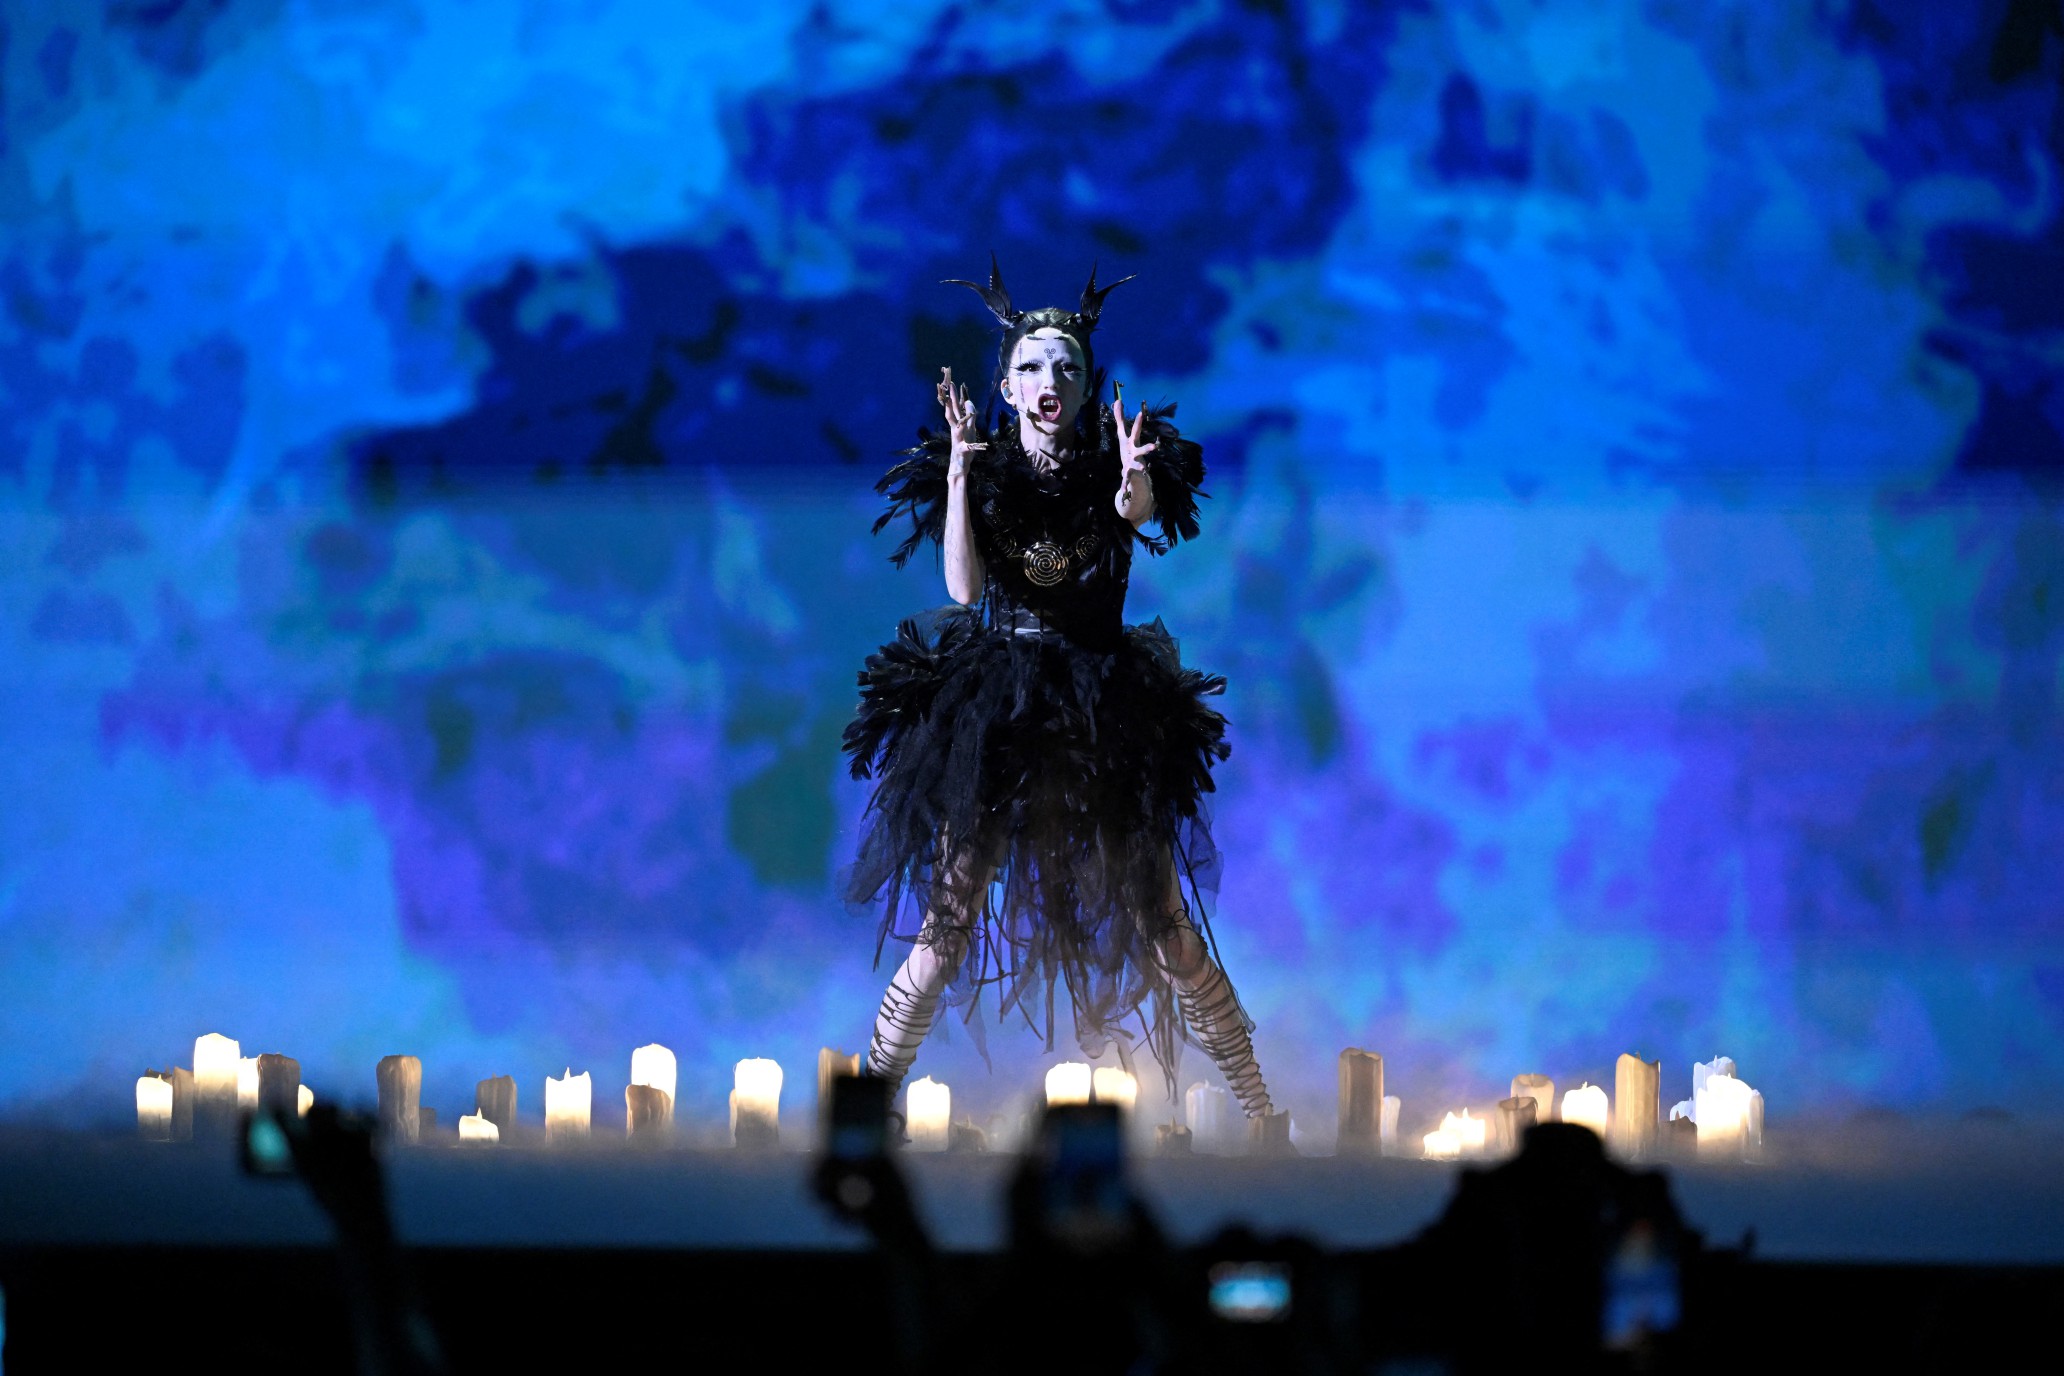 Protests Target Rte And Bbcs Eurovision Broadcast A Growing Movement
May 14, 2025
Protests Target Rte And Bbcs Eurovision Broadcast A Growing Movement
May 14, 2025

