How To See Taylor Swift's Eras Tour Wardrobe Up Close: Photo Guide

Table of Contents
Choosing the Right Equipment for Capturing Taylor Swift's Style
Capturing those breathtaking close-ups of Taylor Swift's Eras Tour wardrobe requires the right camera gear. Investing in quality equipment will significantly improve your chances of getting those amazing shots. Here's what you need:
Camera Body: Speed and Low-Light Prowess are Key
For concert photography, a camera body with fast autofocus is crucial. You need a camera that can keep up with the rapid movements on stage and perform well in the often-low lighting conditions of a stadium. Consider these top performers:
- Canon EOS R5: Renowned for its exceptional autofocus speed and high resolution.
- Sony a7R IV: Offers incredible detail and excellent low-light capabilities.
- Nikon Z7 II: Provides stunning image quality and robust autofocus performance.
Look for cameras with features like:
- Fast continuous autofocus: Essential for tracking moving subjects.
- High ISO performance: Minimizes noise in low-light situations.
- High burst shooting rate: Allows you to capture multiple shots in quick succession.
Lens Selection: Reaching for the Details
A telephoto lens is absolutely essential for getting close-up shots of Taylor Swift from a distance. The longer the focal length, the closer you can virtually get to the stage. Consider these options:
- 70-200mm f/2.8: A versatile and popular choice, offering excellent image quality and a fast aperture.
- 100-400mm: A great option for even greater reach, ideal for capturing distant details.
Key features to look for:
- Fast aperture (f/2.8 or faster): Lets in more light, crucial in low-light concert environments.
- Image stabilization: Reduces camera shake, resulting in sharper images.
Essential Accessories: Power and Stability
Don't overlook these crucial accessories:
- Extra batteries: Concert photography can drain batteries quickly.
- High-capacity memory cards: Ensure you have enough storage for all those amazing photos.
- Sturdy tripod (or monopod): Essential for stability, especially when using a telephoto lens. A monopod offers more mobility.
- Remote shutter release: Minimizes camera shake when shooting from a tripod.
Mastering Camera Settings for Stunning Concert Photos
Knowing how to adjust your camera settings is paramount to capturing high-quality images. Shooting in manual mode provides the most control, allowing you to fine-tune your settings for each specific situation.
Shooting in Manual Mode: Taking Control
Manual mode (M) gives you complete control over your exposure. You'll manually set the ISO, aperture, and shutter speed. This is vital for concert photography because lighting conditions change constantly.
Optimizing ISO, Aperture, and Shutter Speed: The Exposure Triangle
Understanding the interplay of ISO, aperture, and shutter speed is crucial.
- ISO: Controls the sensitivity to light. Higher ISO values are needed in low light, but they can introduce noise. Start around ISO 3200 and adjust as needed.
- Aperture: Controls the depth of field. A wider aperture (smaller f-number, like f/2.8) creates a shallow depth of field, blurring the background and focusing attention on Taylor Swift.
- Shutter speed: Controls how long the sensor is exposed to light. A faster shutter speed (e.g., 1/500th of a second or faster) is needed to freeze motion.
Experiment to find the right balance. For example, you might use ISO 6400, f/2.8, and 1/800s in very low light, adjusting as the lighting changes throughout the concert.
White Balance: Accurate Colors
Correct white balance is essential for accurate color reproduction. Use the custom white balance setting if possible by taking a picture of a white object under the stage lighting before the concert starts, ensuring your photos accurately reflect the colors of Taylor Swift’s Eras Tour wardrobe.
Strategic Positioning and Timing for the Perfect Shot
Choosing your spot and anticipating wardrobe changes are key to capturing those unforgettable moments.
Selecting Your Spot: Maximizing Your Chances
The best viewing areas for photography vary depending on the venue. Generally, aim for:
- Sections closer to the stage: Provides better opportunities for close-up shots.
- Areas with good lighting: Avoid spots that are excessively dark or backlit.
- Consider the stage design: Some stages have better viewing angles than others.
Anticipating Wardrobe Changes: Preparation is Key
Predicting wardrobe changes involves:
- Studying past tour footage: Observe patterns in her past performances.
- Paying attention to setlists: Certain songs might correlate with specific outfits.
- Observing the stage setup: Changes in stage props could indicate an outfit change.
Patience and Persistence: The Pursuit of the Perfect Shot
Capturing the perfect shot in a fast-paced concert environment requires patience and persistence. Be prepared to take many photos, as many will be unusable due to motion blur or poor lighting.
Editing Your Photos for Maximum Impact
Post-processing is essential to enhance your concert photos.
Software Recommendations: Enhancing Your Images
Popular photo editing software includes:
- Adobe Lightroom: Excellent for organizing, editing, and exporting photos.
- Adobe Photoshop: More advanced software for detailed editing.
- Luminar: User-friendly software with powerful AI-powered tools.
Editing Techniques: Bringing Out the Best
Essential editing techniques include:
- Adjusting brightness and contrast: Improve the overall look of your photos.
- Sharpening: Enhance the details of Taylor Swift's outfits.
- Color correction: Ensure accurate color reproduction.
- Noise reduction: Minimize grain in high-ISO images.
Cropping and Composition: Focusing on the Details
Cropping allows you to improve composition and emphasize specific details of Taylor Swift's outfits.
Conclusion
Capturing Taylor Swift's Eras Tour wardrobe up close requires preparation, the right equipment, and a bit of luck. By following these tips and tricks focusing on your camera settings, strategic positioning, and post-processing techniques, you'll significantly improve your chances of getting those incredible shots. Remember, practice makes perfect! So, get ready for the next Taylor Swift concert, hone your skills, and get ready to capture the magic of the Eras Tour wardrobe. Start planning your Taylor Swift Eras Tour photography adventure today!
Featured Posts
-
 Blake And Gwens Family Vacation Opulence And Fun
May 27, 2025
Blake And Gwens Family Vacation Opulence And Fun
May 27, 2025 -
 Earth Under Threat Alien Xenomorph Appearance At Sxsw
May 27, 2025
Earth Under Threat Alien Xenomorph Appearance At Sxsw
May 27, 2025 -
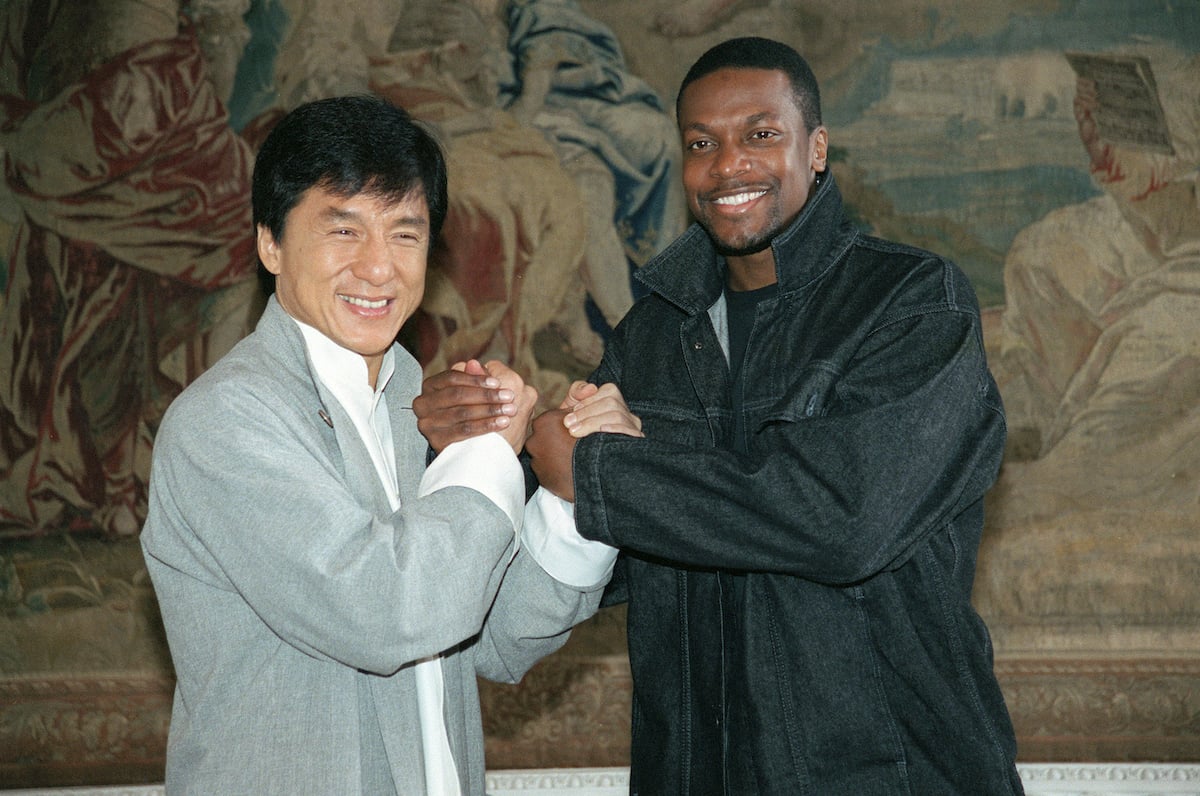 Rush Hour Stars Reunite Jackie Chan And Chris Tucker At The Toronto International Film Festival
May 27, 2025
Rush Hour Stars Reunite Jackie Chan And Chris Tucker At The Toronto International Film Festival
May 27, 2025 -
 L Usma Et L Asec Sortent De La Coupe De La Caf Retour Sur Les Resultats
May 27, 2025
L Usma Et L Asec Sortent De La Coupe De La Caf Retour Sur Les Resultats
May 27, 2025 -
 Yellowstone Magma Reservoir Understanding Future Volcanic Activity
May 27, 2025
Yellowstone Magma Reservoir Understanding Future Volcanic Activity
May 27, 2025
Latest Posts
-
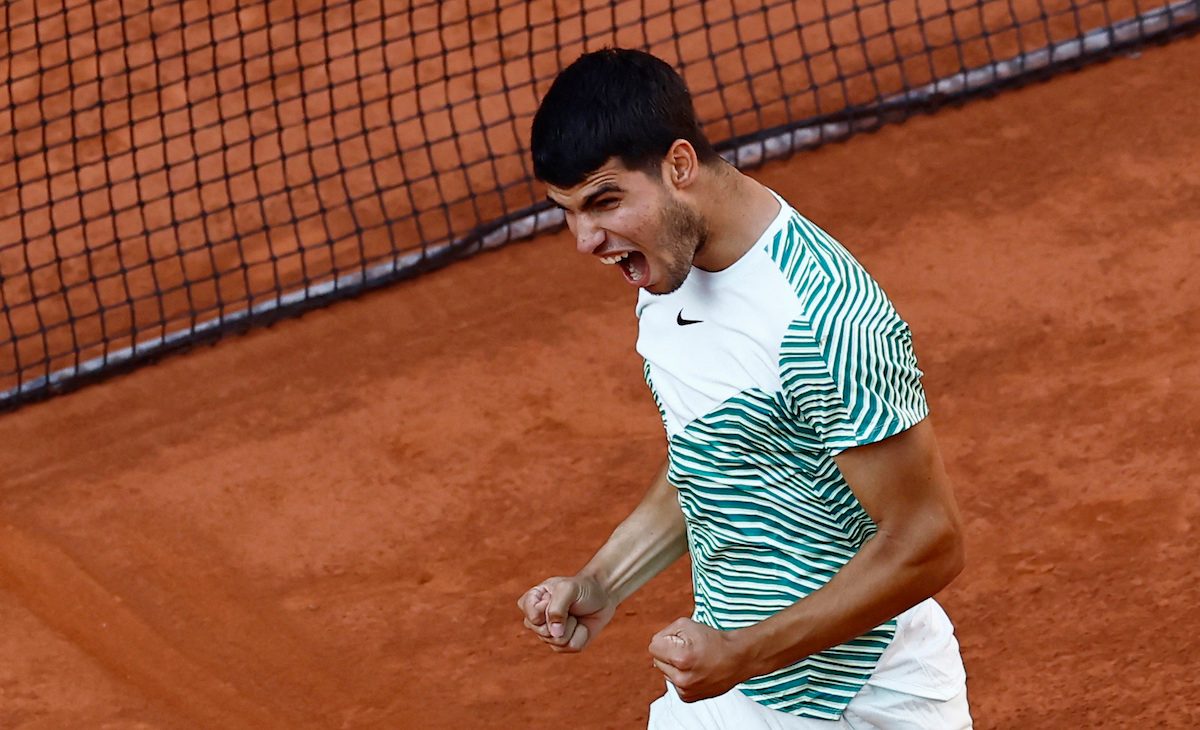 Alcaraz Defeats Musetti To Win Inaugural Monte Carlo Masters
May 30, 2025
Alcaraz Defeats Musetti To Win Inaugural Monte Carlo Masters
May 30, 2025 -
 Miami Open Musettis Three Set Win Against Auger Aliassime
May 30, 2025
Miami Open Musettis Three Set Win Against Auger Aliassime
May 30, 2025 -
 Musetti Triumphs Over Auger Aliassime At Miami Open
May 30, 2025
Musetti Triumphs Over Auger Aliassime At Miami Open
May 30, 2025 -
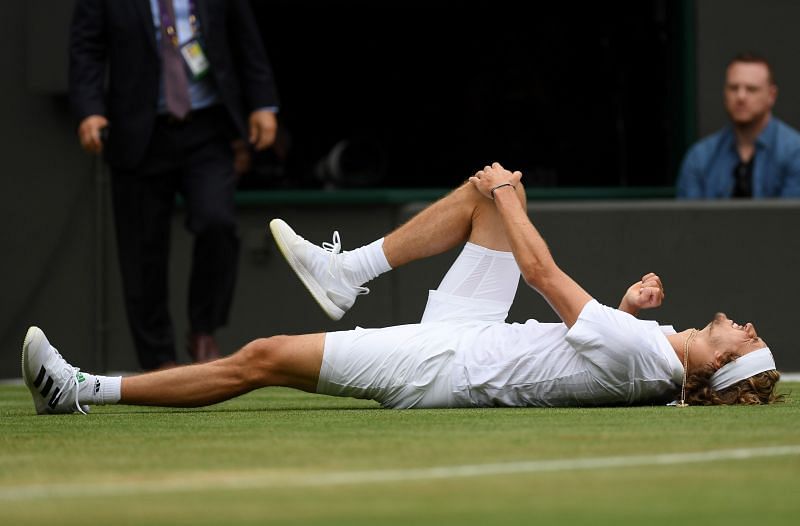
 Analysis Musettis Injury And Its Impact On The Monte Carlo Final
May 30, 2025
Analysis Musettis Injury And Its Impact On The Monte Carlo Final
May 30, 2025 -
 Monte Carlo Alcaraz Claims Victory After Musettis Retirement
May 30, 2025
Monte Carlo Alcaraz Claims Victory After Musettis Retirement
May 30, 2025

